Deploying Windows Azure Websites using Dropbox
Introduction
If you want to keep track of your Website versions, easily switch between deployments but don’t want a more complicated version control system such Git or TFS, then this post is for you!
There are a lot of source control systems supported by Windows Azure, and Dropbox is just one of them.
 
Let’s start
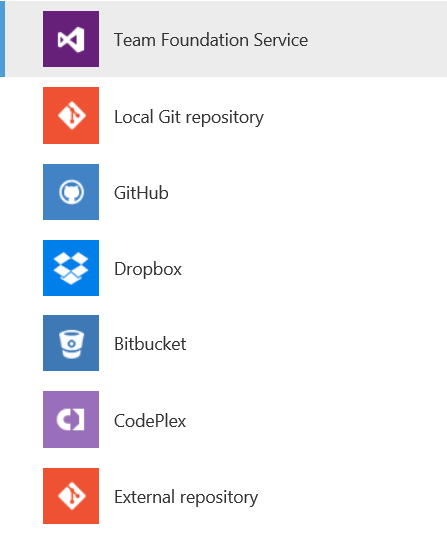
Create a website as usual, then either select “Set up deployment from source control” while creating, or from the dashboard later.
When you do so, the dialog above (with the source control options) will show up.
 
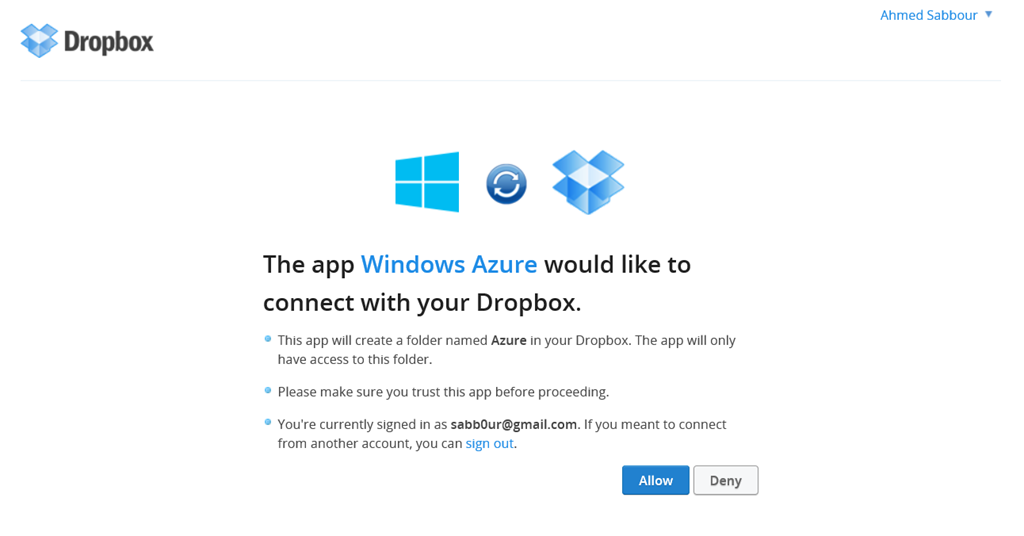
Click on Dropbox, then sign in when the Authorization dialog pops up, login and authorize Windows Azure to connect with your Dropbox.
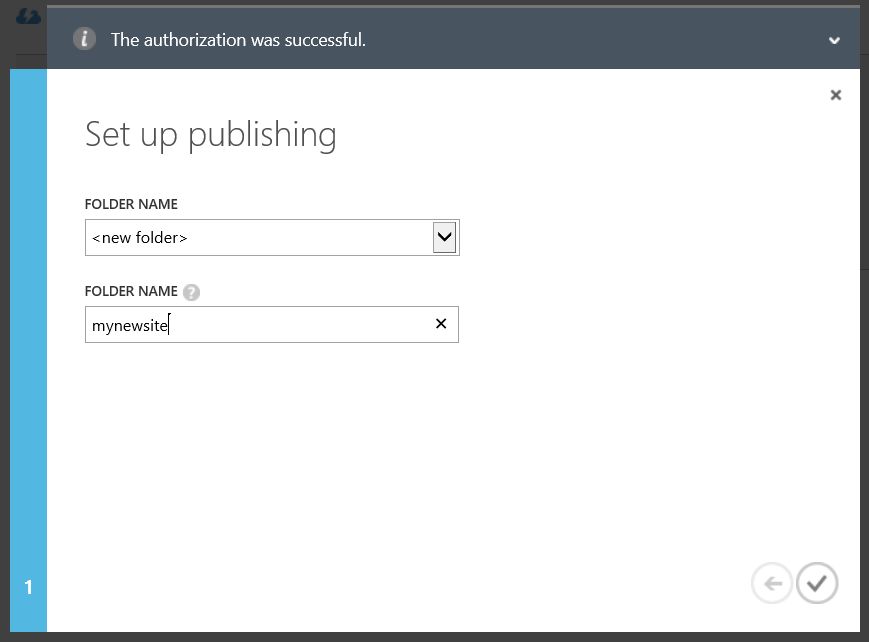
Select an existing folder from your Dropbox or create a new one
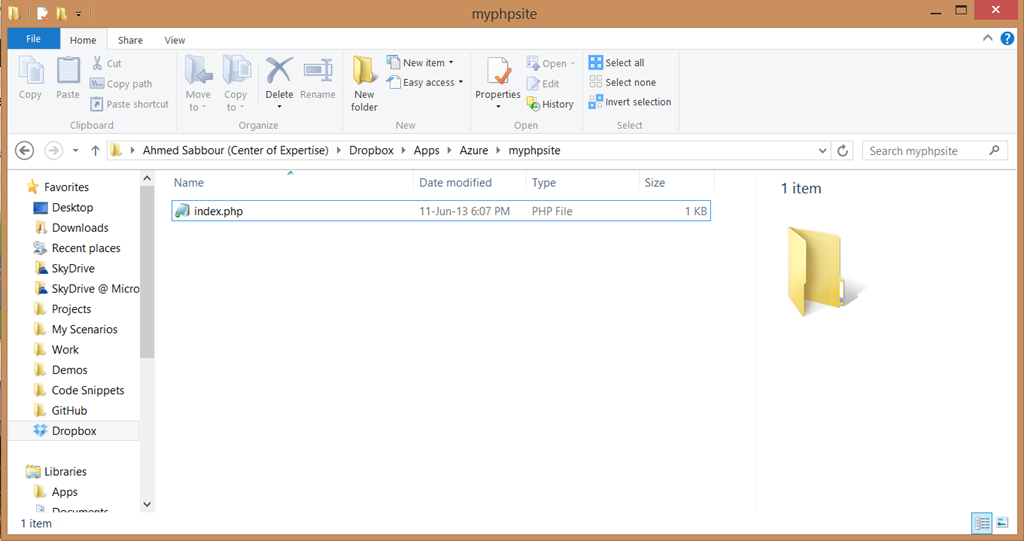
Now on your desktop, copy the files you want to upload into your Dropbox folder
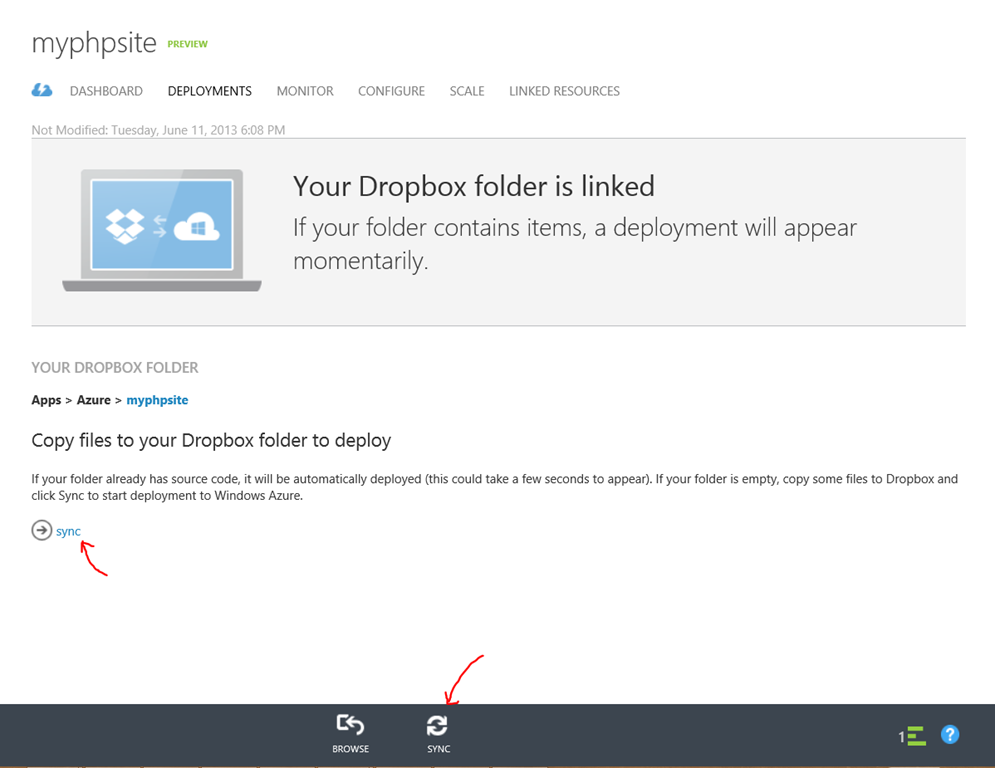
Go back to the portal, click on Sync
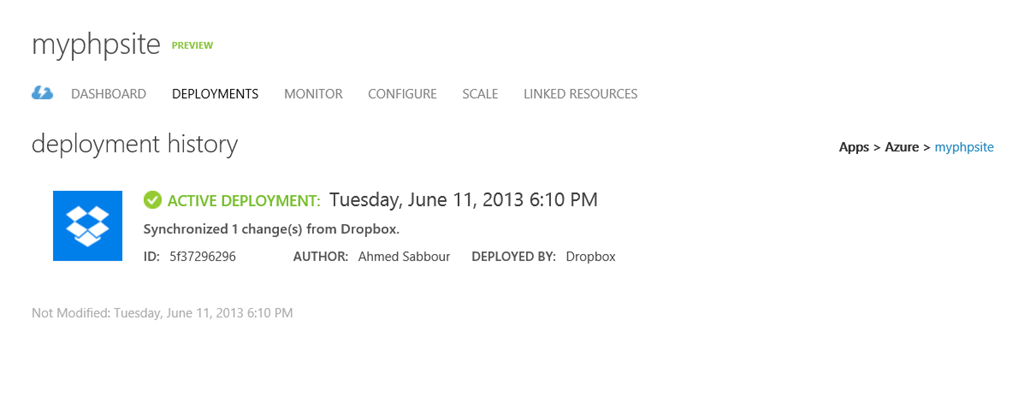
Windows Azure will now sync the changes and create a deployment
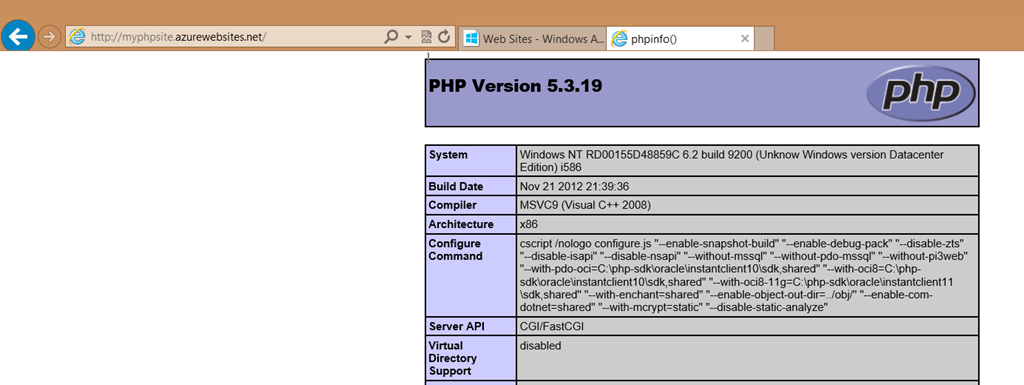
That’s it, your website is live.
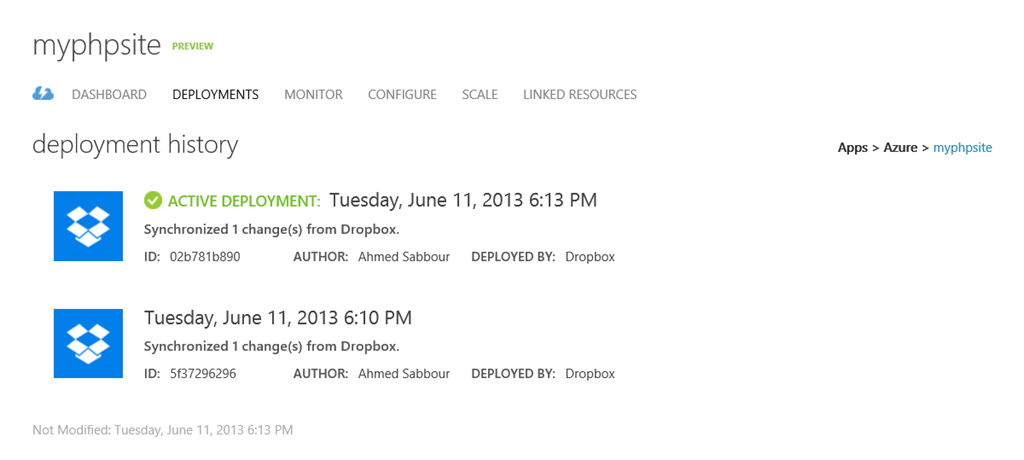
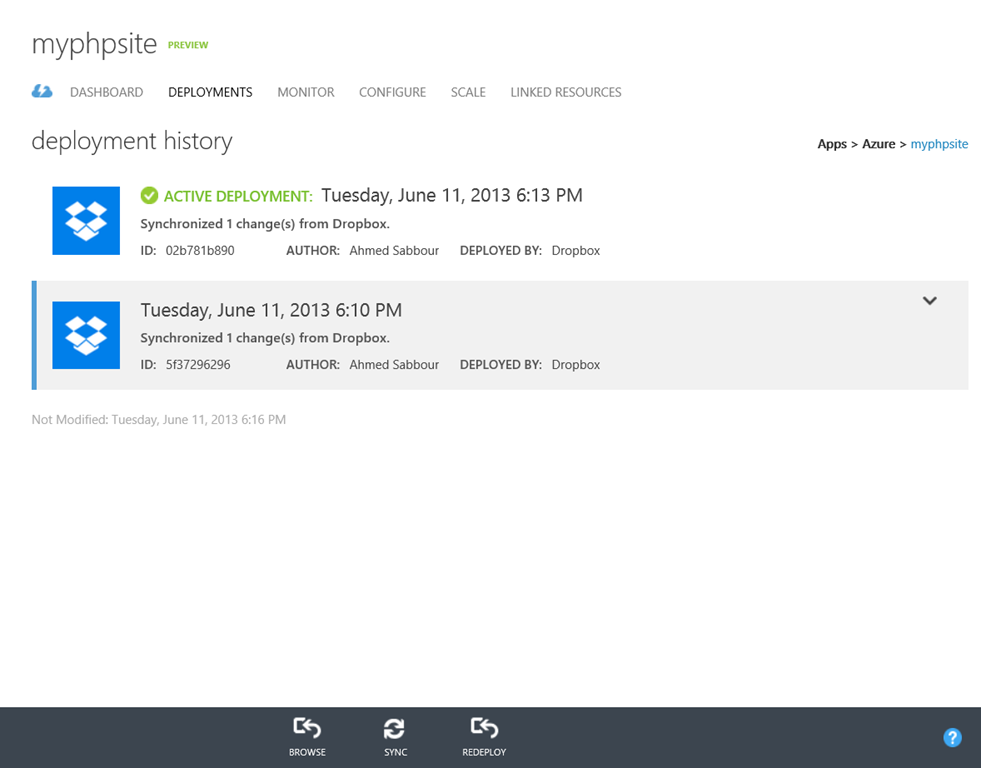
Now make a change, and sync again, the new deployment will show up, and the old deployment will still be in the history.
You can very easily change between the versions by selecting the version you want and clicking on “Redeploy”.
Note: This post originally appeared on my MSDN blog at http://blogs.msdn.com/b/africaapps/archive/2013/06/11/deploying-windows-azure-websites-using-dropbox.aspx