Introduction
Creating a WordPress based site on Windows Azure is already pretty trivial, you can very easily select WordPress from the gallery when creating an Azure Website.
The problem is, by default, Wordpress works with MySQL, which means for you that you will either need to get a database from ClearDB, which is more expensive and isn't included in say, your BizSpark $150 monthly credit allowance; or you need to create a Virtual Machine and install MySQL on it which would cost you more than you need.
It is much more cost effective and manageable to use SQL Server as a Service, which is managed for you and you can use your BizSpark credits against.
We'll be using a database abstraction plugin for WordPress that allows the blog engine to use a SQL server as a database.
Overview
What we'll need to do is:
- Install WordPress from the gallery
- Download the WP DB Abstraction plugin and extract it locally
- Modify a file to fix a bug in the plugin (I know, sorry!)
- Create a SQL Database on Windows Azure
- Connect to the website using FTP and delete the wp-config.php that comes with the installation
- Upload the plugin
- Configure the plugin to use our SQL Server
- Install WordPress regularly
- (Optional) Enable Url Rewrite for friendly links
I'm assuming this is a new WordPress installation. What I won't be covering in this post is how to migrate your data from your old WordPress installation to the new one. There are a lot of tutorials to do that already.
Details
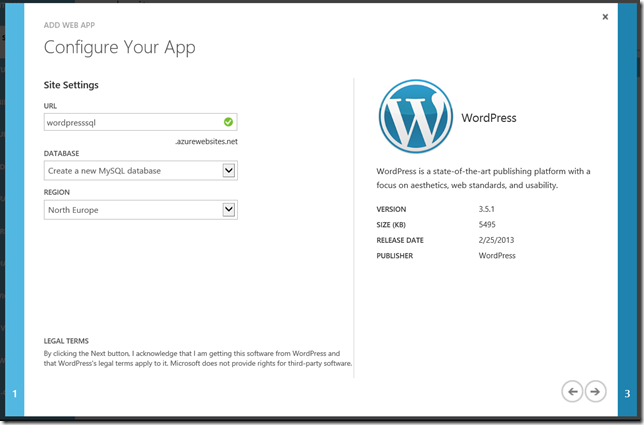
Installing WordPress from the gallery
When creating the site, choose to create a new MySQL database, it doesn't matter as we won't be using it anyway. Delete it later.
Downloading (and fixing) the plugin
Go to the WP DB Abstraction plugin website, download the zip file and extract it somewhere on your computer. From the folder you unzipped, open up \wp-db-abstraction\translations\sqlsrv\translations.php
In line 740, change:
elseif ( count($limit_matches) == 5 && $limit_matches[1] == '0')
to
elseif ( count($limit_matches) >= 5 && $limit_matches[1] == '0' )
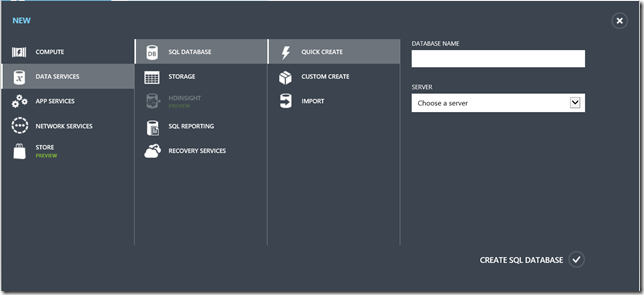
Create a Windows Azure SQL Database
On the portal, create a new database/server in the same region you created the website and take note of:
the username and password you specified as well as the database server hostname and the database name.
Installing the plugin
We'll be uploading couple of files using FTP to install the plugin.
First, if you haven't created FTP deployment credentials, go to your website Quick Start (that little blue cloud with a thunderbolt ![]() ) and click on "Set deployment credentials" to create a username and password that you'll use with FTP.
) and click on "Set deployment credentials" to create a username and password that you'll use with FTP.
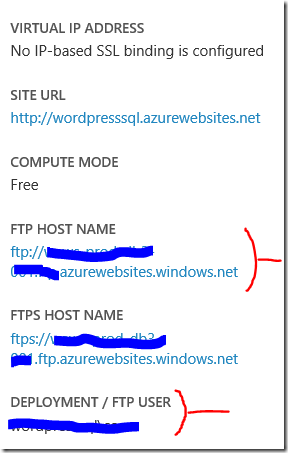
After that is done, go to the Dashboard and take note of the FTP hostname and your deployment username.
Now using your favorite FTP client (or Windows File Explorer) connect to the website using that FTP host name and FTP username and password you specified earlier.
- Navigate to "site/wwwroot" and delete wp-config.php. This is a VERY IMPORTANT step, otherwise you'll keep getting 500 Internal Server Error in the next step.
- Navigate to "site/wwwroot/wp-content" and create a mu-plugins folder.
- From the plugin folder you extracted on your computer, copy wp-db-abstraction.php and the wp-db-abstraction directory to "site/wwwroot/wp-content/mu-plugins" folder on the FTP.
This is how your FTP structure would look like after that
- Finally, navigate back to "site/wwwroot/wp-content" and from your extracted plugin folder, under the wp-db-abstraction directory, copy db.php into wp-content.

Configuring the plugin
- Now that the plugin is uploaded in place, open up its configuration URL:
http://[yourazurewebsite].azurewebsites.net/wp-content/mu-plugins/wp-db-abstraction/setup-config.php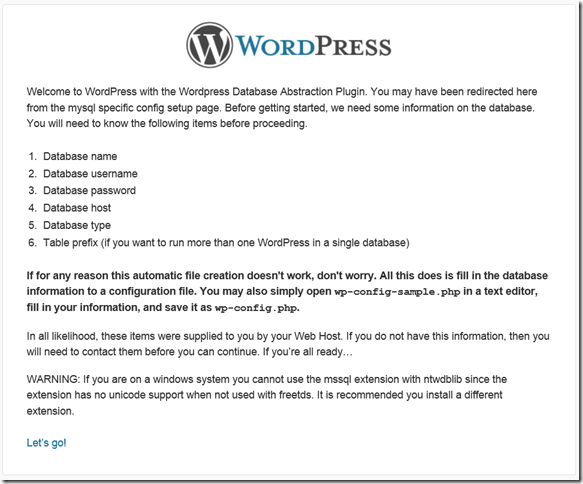
- Enter the details of the database server and make sure you select PDO SqlSrv and not SQL Server using MS PHP Driver
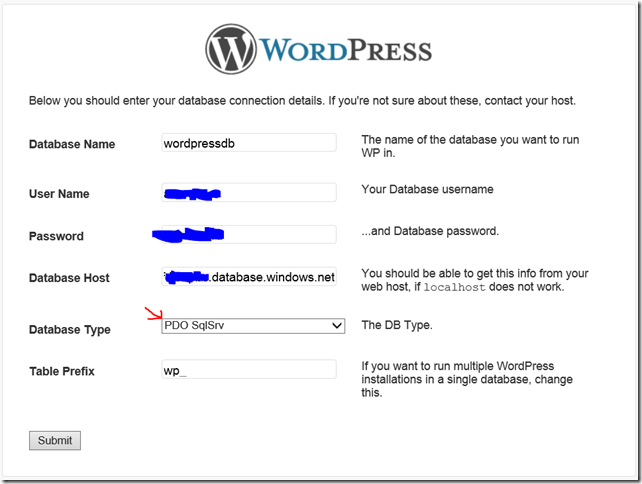
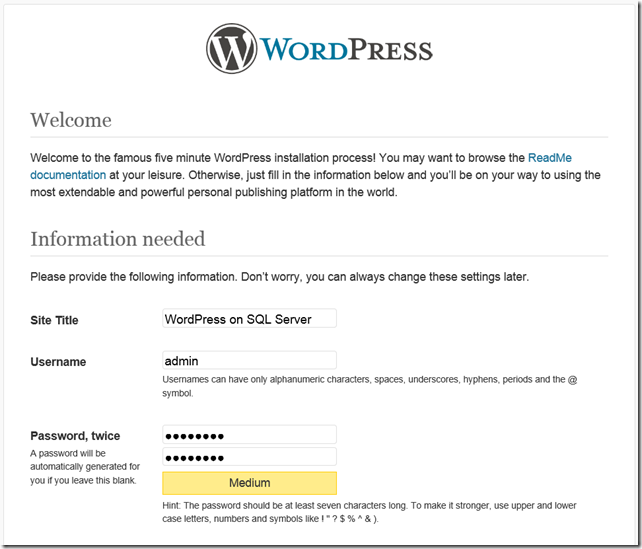
Once this step is done, WordPress can communicate with your database, click on "Run the install" to run the regular WordPress installation
Install WordPress
Now your installation should be running fine and dandy. 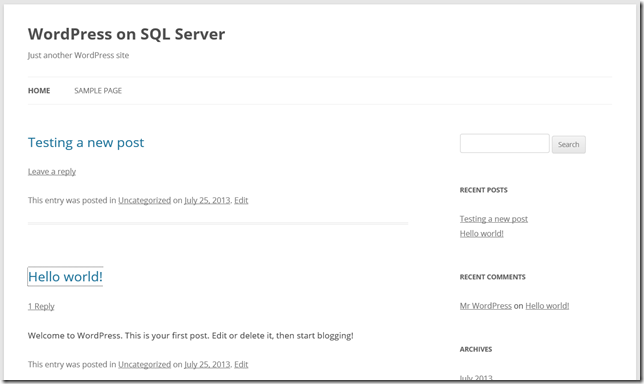
Optional step, to enable URL Rewriting for pretty Permalinks without "index.php"
Create a web.config file with the content below
<?xml version="1.0" encoding="UTF-8"?>
<configuration>
    <system.webServer>
        <rewrite>
            <rules>
                <rule name="wordpress" patternSyntax="Wildcard">
                    <match url="*"/>
                    <conditions>
                        <add input="{REQUEST_FILENAME}" matchType="IsFile" negate="true"/>
                        <add input="{REQUEST_FILENAME}" matchType="IsDirectory" negate="true"/>
                    </conditions>
                    <action type="Rewrite" url="index.php"/>
                </rule>
            </rules>
        </rewrite>
    </system.webServer>
</configuration>
And upload it to the root of the WordPress installation, ie: Under wwwroot folder
Make sure your WordPress Permalink settings do not contain "index.php"
Note: This post originally appeared on my MSDN blog at http://blogs.msdn.com/b/africaapps/archive/2013/07/30/using-wordpress-on-windows-azure-with-sql-server-instead-of-mysql.aspx
